How to Retouch Skin Naturally — Without Losing Texture

The best skin retouching is invisible. It removes distractions without removing character. Here's how to walk that line every time.
Why Most Skin Retouching Looks Fake
The biggest mistake in skin retouching isn't the tool — it's the intention. Most over-edited portraits share the same tells: missing pores, plastic-looking highlights, and skin that reflects light like a synthetic surface. The more effort that goes into making skin look 'perfect,' the more obviously edited it becomes.
The reason comes down to texture. Human skin has a specific surface structure — pores, subtle unevenness, micro-shadows. When retouching removes all of that, what's left doesn't look like skin anymore. It looks like a mask.

Smoothing vs. Blurring
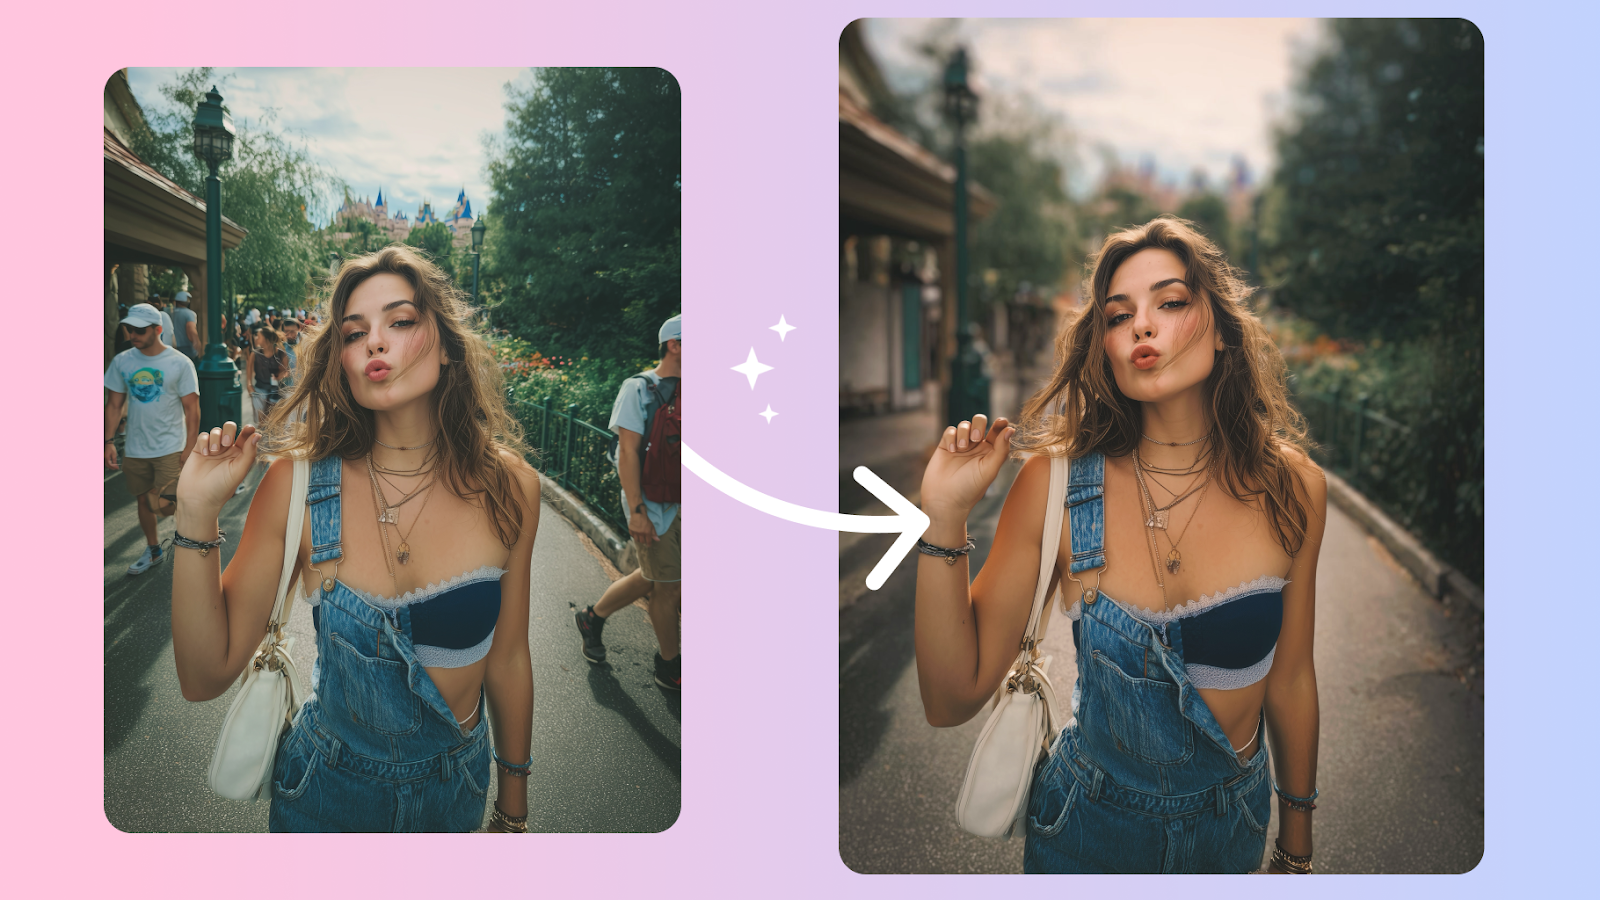
There's a critical difference between the two. Smoothing reduces contrast between adjacent tones — it softens transitions while keeping the underlying structure intact. Blurring removes detail entirely.
One looks natural. The other looks edited. Every worthwhile retouching tool operates in the smoothing register. The goal is to make the tonal transitions more gradual, not to flatten everything into a single value.
Try Facelab's Skin Retouching — Remove blemishes, even out skin tone, and soften texture, while preserving the natural detail that makes portraits look real.
Keep the Pores, Remove the Distractions
The goal isn't perfect skin — it's skin that looks healthy. Healthy skin has pores, slight texture, and micro-shadows. What it doesn't have is active blemishes, temporary redness, or the shadow under a fresh mark.
That distinction drives every decision: remove the temporary, keep the permanent. A blemish that will be gone in a week is a candidate for retouching. The subtle texture around someone's nose is not.
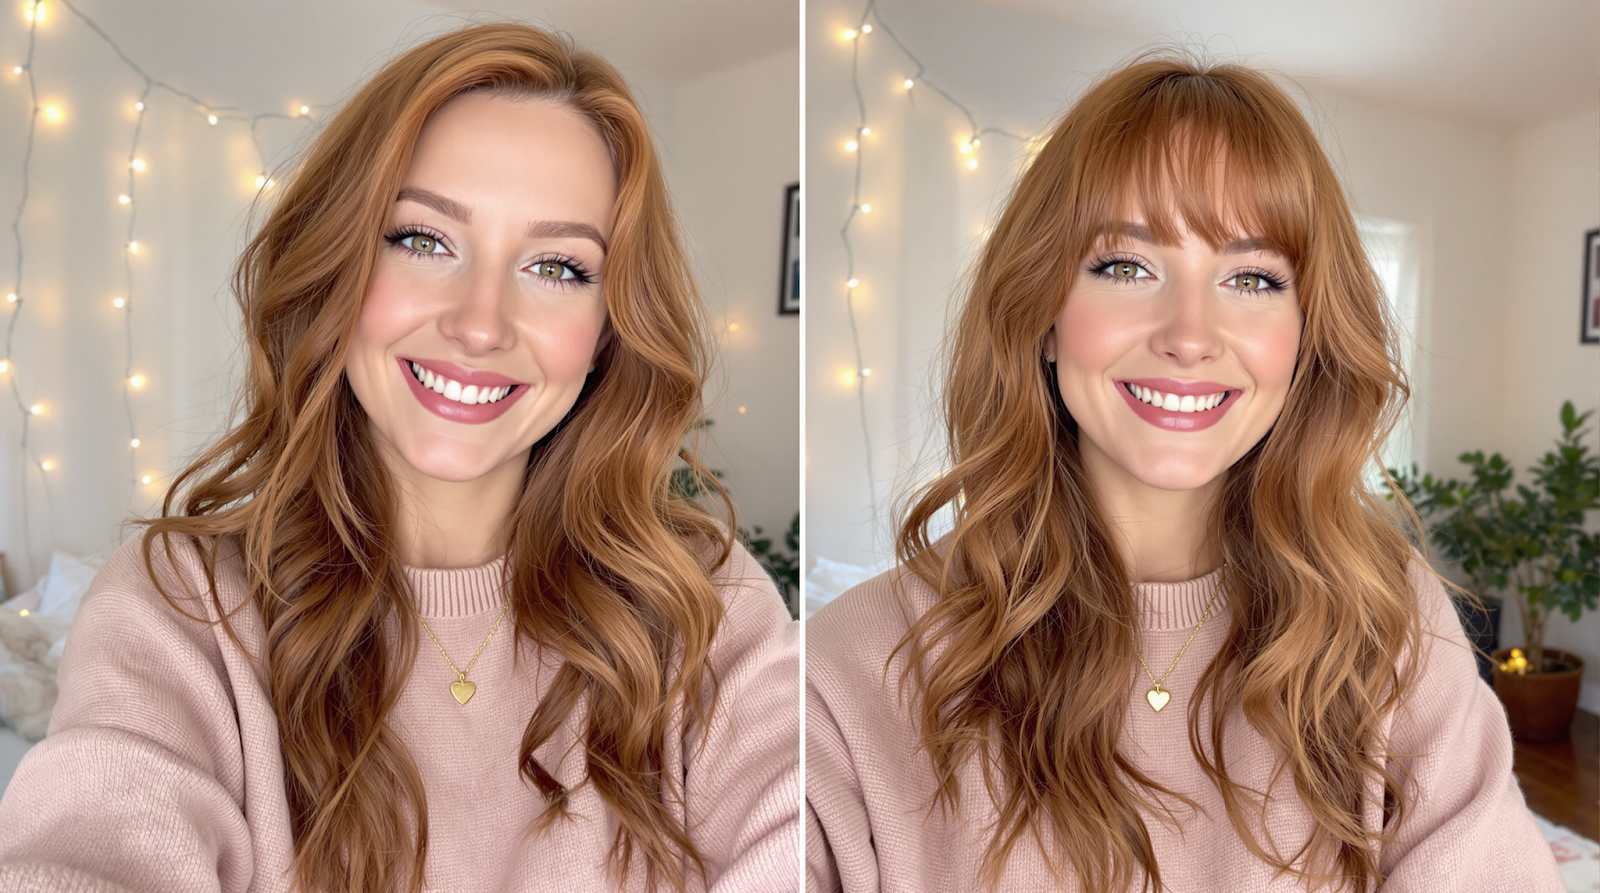
Don't Forget the Eyes
After evening out skin tone, eyes often appear relatively dull — the surrounding area has been lightened while the iris stays the same. A small lift in clarity and brightness on the eyes restores the balance.
The same principle applies to teeth. Subtle brightening should match the surrounding tone, not exceed it. Eyes and teeth that are too bright create the exact same synthetic look as skin that's too smooth.
Try Facelab's Face Smoother — Fine-tune skin smoothness with precise control. Works alongside Skin Retouching to dial in the exact level of finish you want.
The One-Pass Rule
After making all your edits, zoom out to full view and look at the whole face at once. If anything catches your eye immediately — a patch of skin that's too smooth, an eye that's too bright — that is the edit. The correct version is the one where your eye goes to the person, not the retouching.
If you find yourself looking at the editing work rather than the subject, walk it back 30–40% and look again. The right level is almost always less than your first instinct.
Try Facelab's Eye Enhancer — Brighten and sharpen eyes naturally to restore balance after skin work. Subtle by design — easy to dial in to exactly the level you need.
Mehr aus Beauty
Alle anzeigen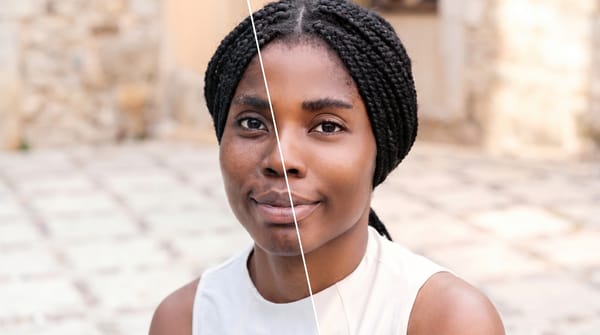
Face Retouching vs. Full Makeover: When to Use Each
Face retouching can be invisible when the work is done right. A full makeover can create a complete look.
How to Edit Your Body in Photos Without It Looking Fake
Body edits get caught when the background bends and the proportions don't add up. Here's how to keep edits believable, even on tricky shots.
Face Reshaping in Photos: What Actually Works (And What Doesn't)
AI face reshaping tools have gotten remarkably capable — but it's easy to cross the line. We break down what to adjust and how much is too much.

